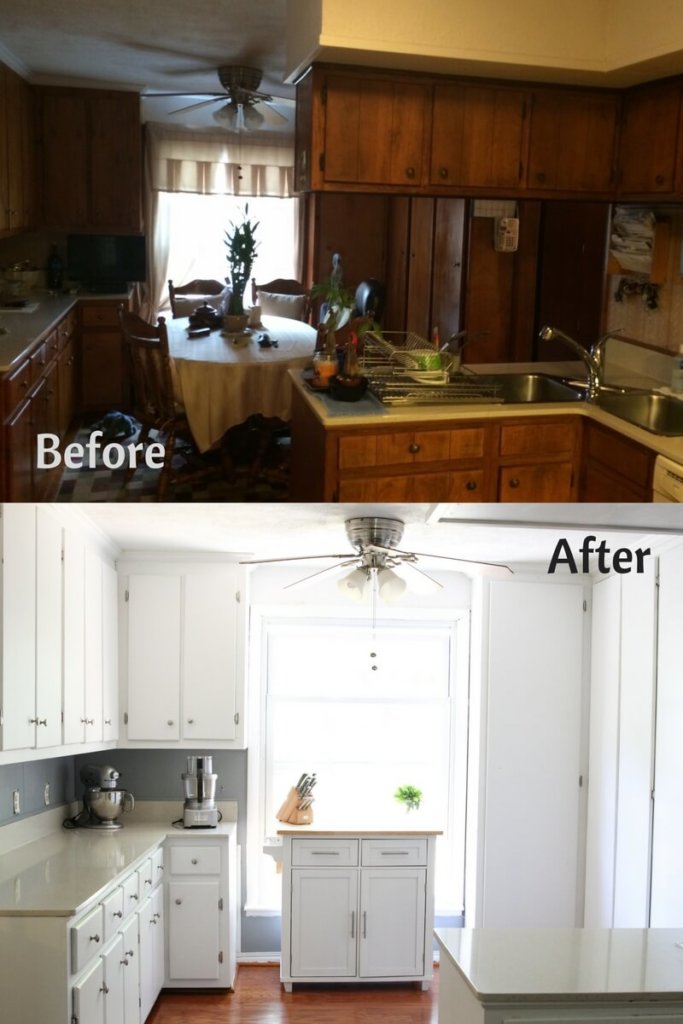
I have been meaning to blog this Before and After Kitchen Makeover (Phase One) since we finished it in the beginning of May. Buying a house and moving is kind of a lot though so this post just kept being pushed to the side.
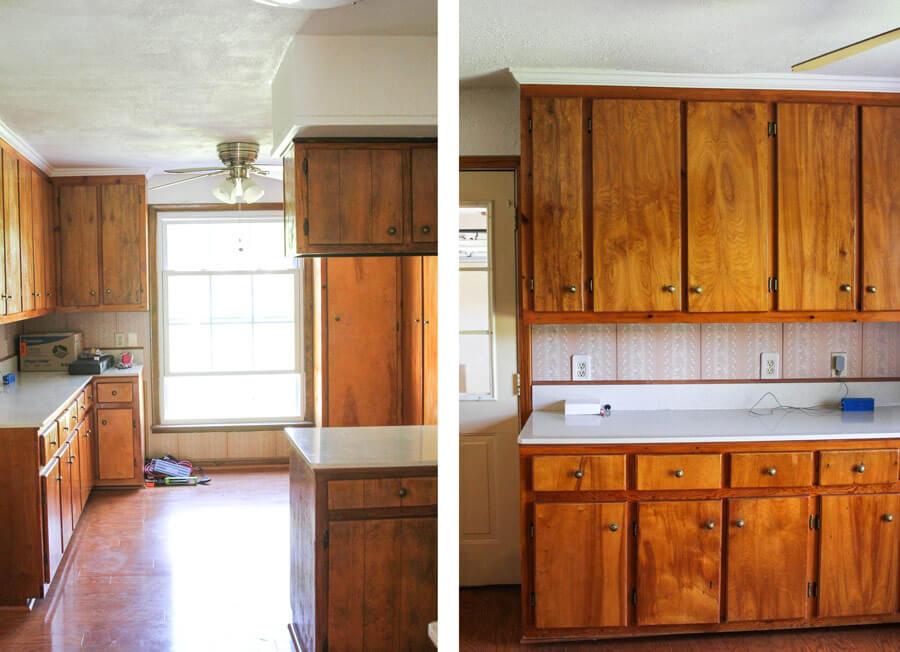
We bought a bit of a fixer upper back in April of this year. Luckily my husband is super handy so he has been able to do a lot of the more intensive work on the house and I have mostly just stuck to painting….hah! The house is actually in good condition but just needs updating. We decided that we would need to do a little work on kitchen before we even moved in. The picture above is how it looked when we first saw the home. I spend so much time in there and I also have SO much kitchen stuff that we knew it would be hard to do any work once everything was moved in there.
The kitchen was very outdated and very dark and I just kept thinking that I was going to hate working in such a dark space. Also, since I shoot in natural light I kind of needed that too!
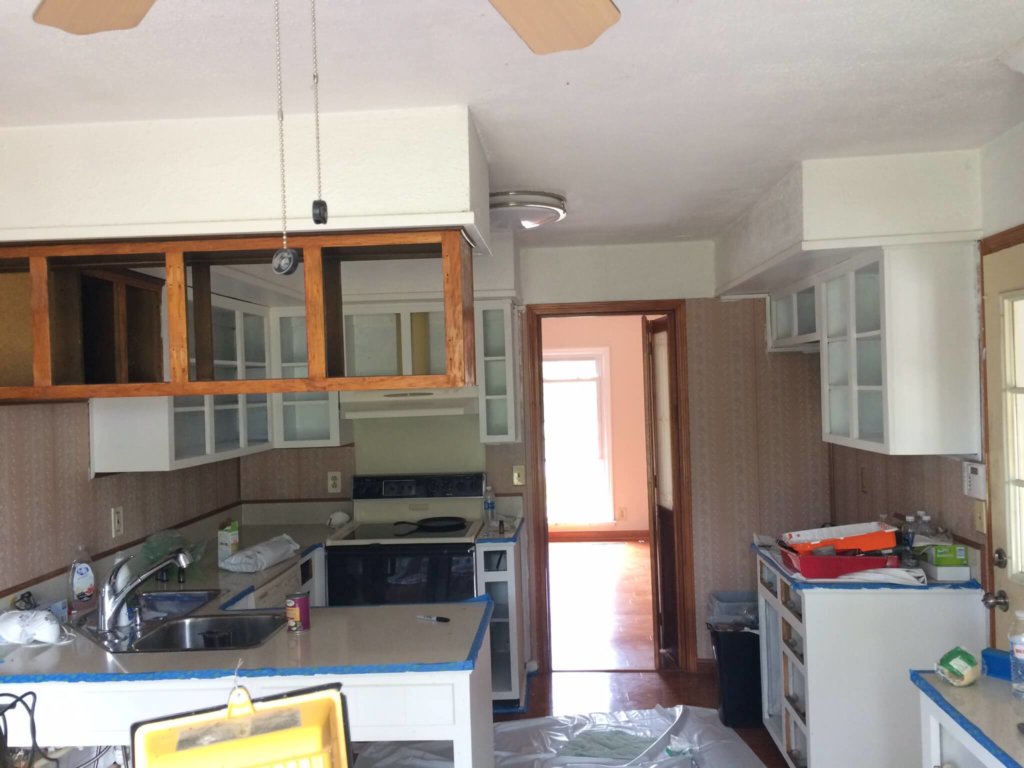
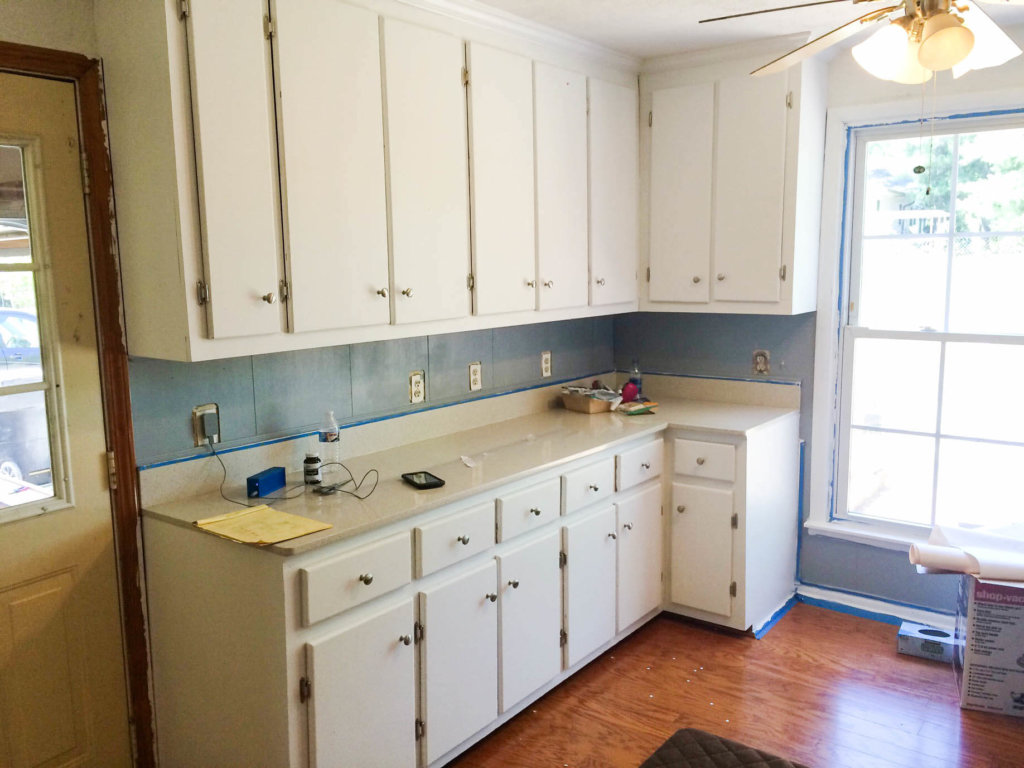
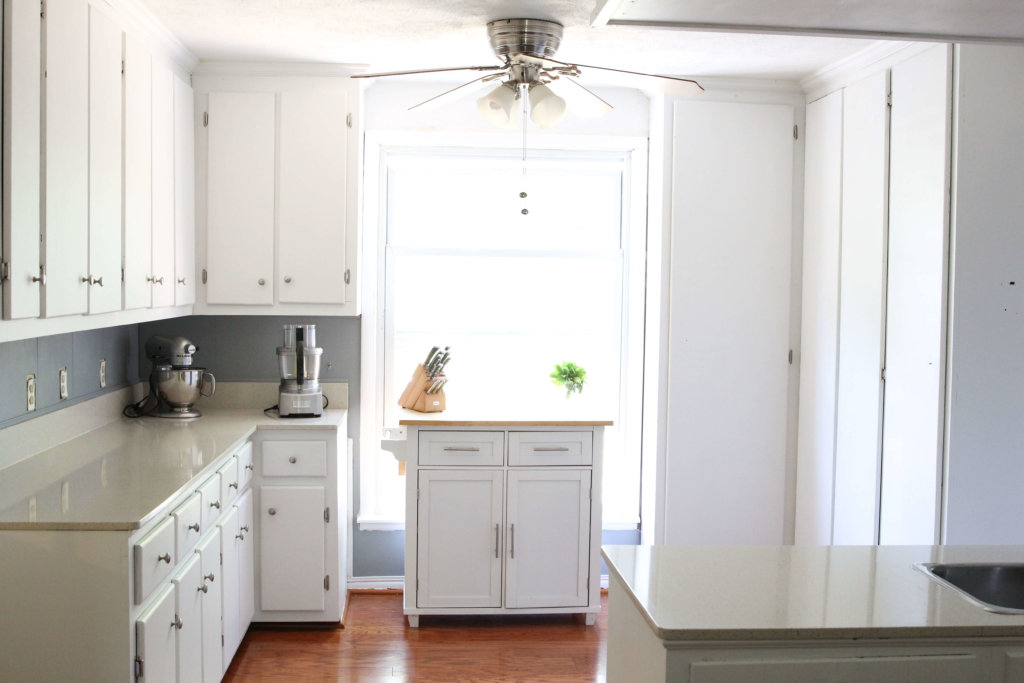
So we came up with the idea of just painting the cabinets immediately, switching out the hardware and taking down those upper cabinets that were above the sink to open up some space.
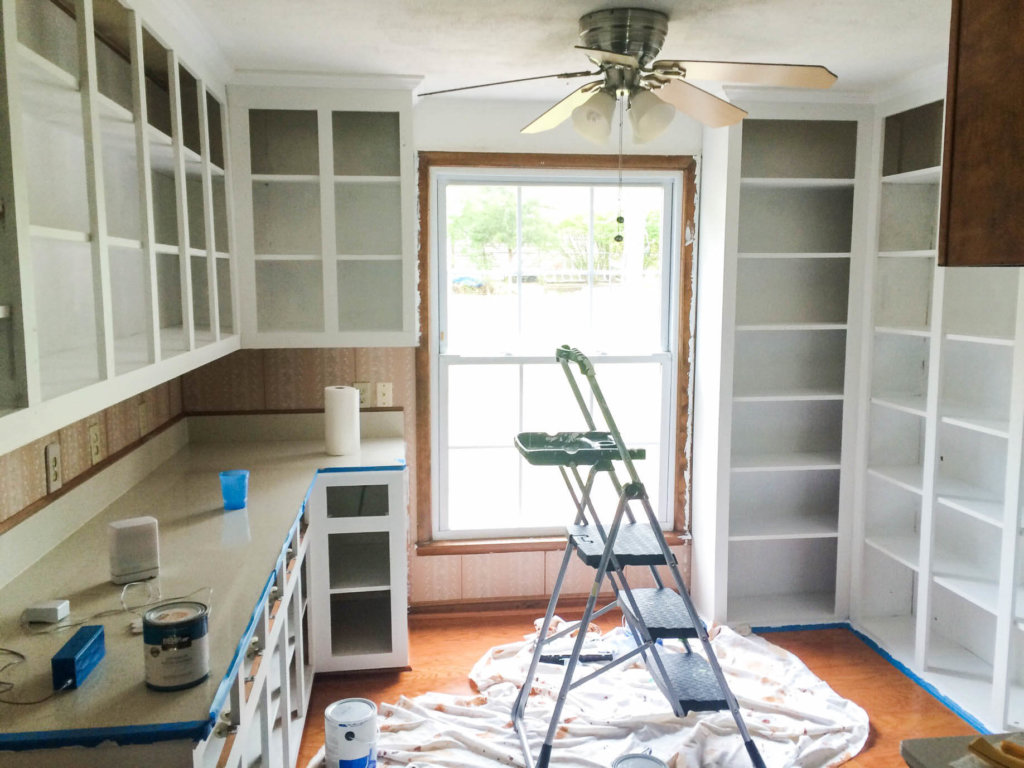
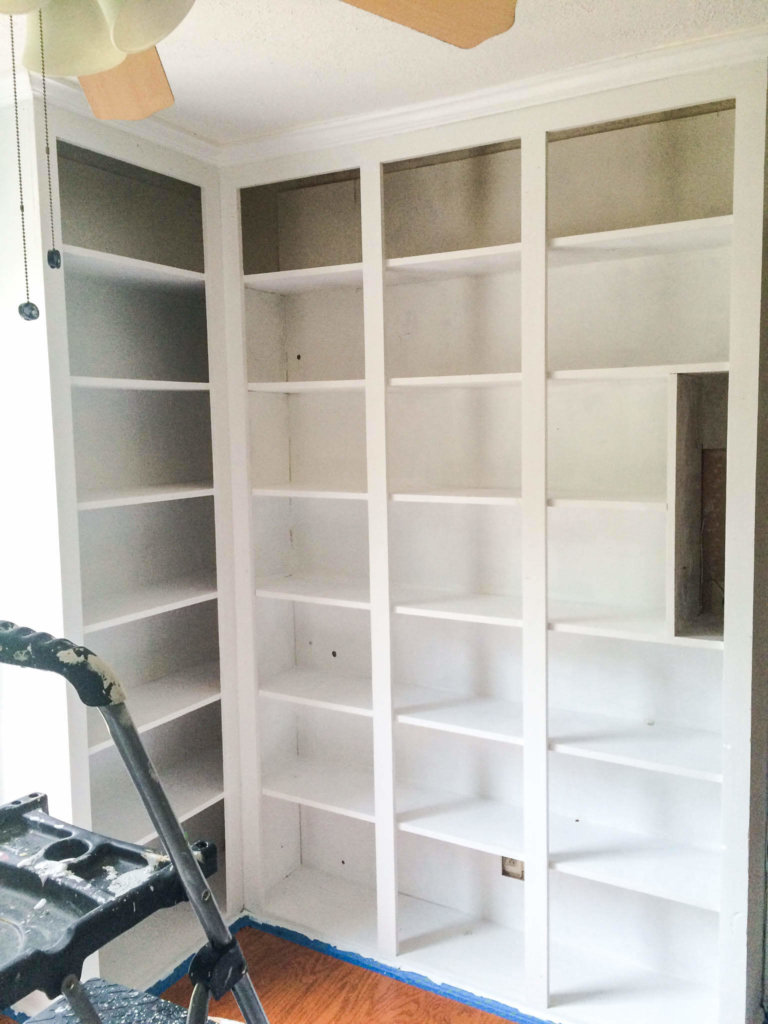
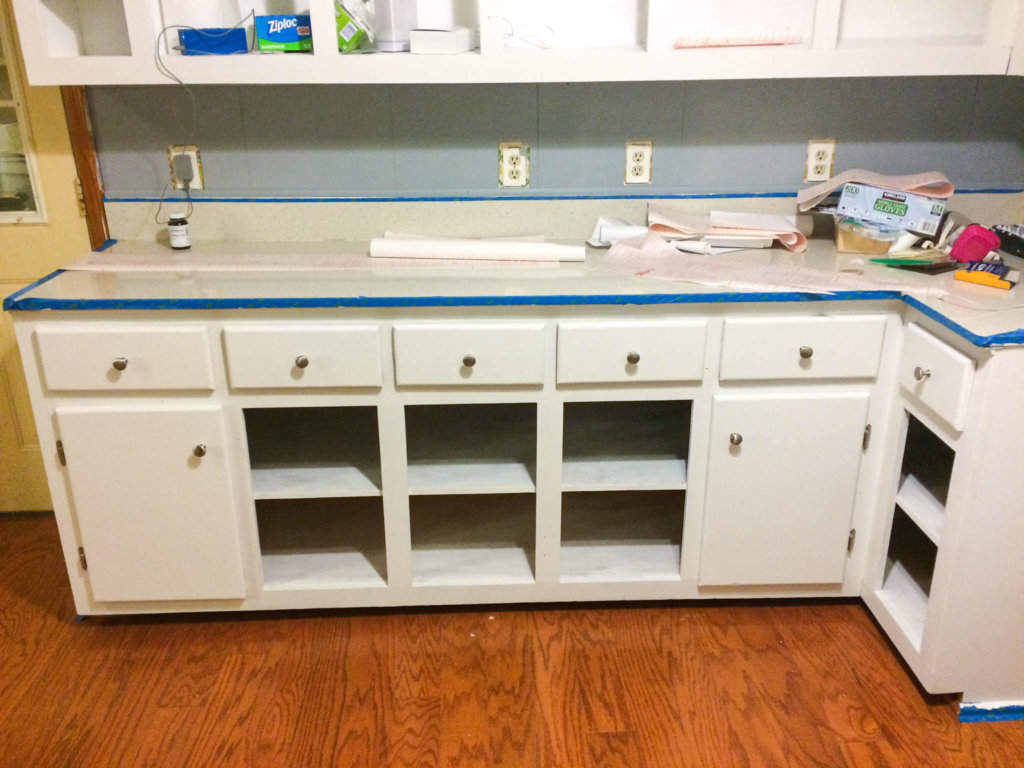
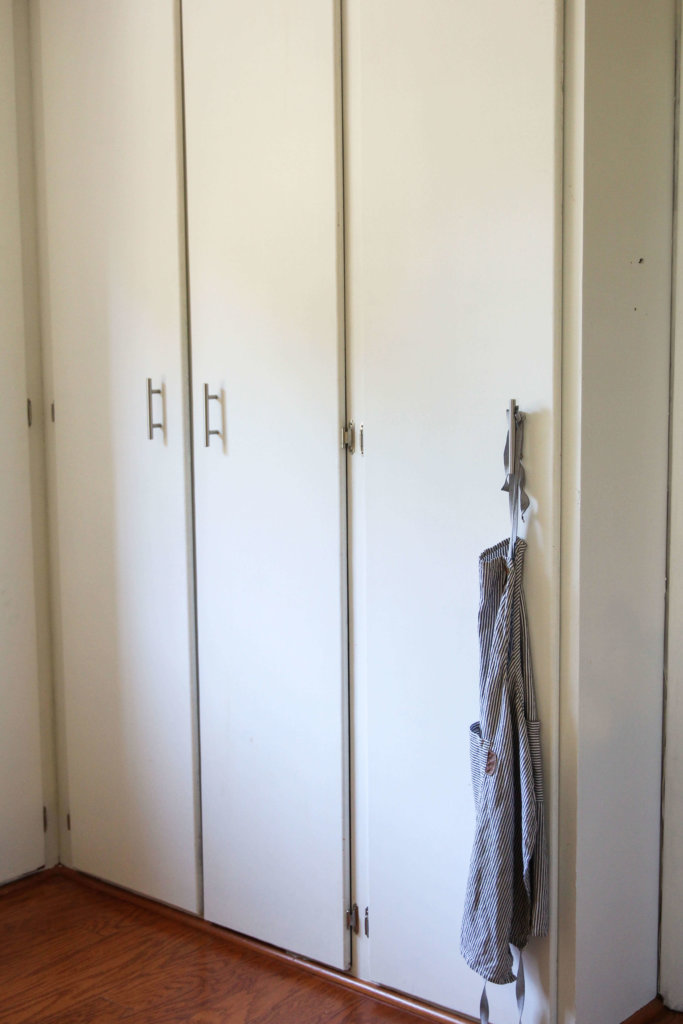
This kitchen has a lot of great storage and was one of the reasons I knew this house was prefect for us. The built in storage is AWESOME but also means a lot of surface area to paint. We ended up using the Beyond “reclaim” Paint for this project. It is definitely a little bit more costly but it saved us some time in having to sand and prime and then paint.
To be honest, I have mixed feelings about that paint. It was super weird to get used to. You can’t just use a brush and paint it on like you would with normal paint. You either have to use a roller or use a small sponge and basically dab it on. When we did the first coat I was slightly terrified because it did not look like it was going to work AT ALL. I started googling like crazy to see if other people had this problem Luckily, once we started the second coat it started to look a lot better. The paint has a little texture to it. It is not overly smooth and doesn’t have any shine to it.
We had a few issues with coverage and certain spots that stain still came through on. Luckily it is pretty minimal and you have to look for those spots (it still irritates me though) on the cabinets. It does take a while to dry so you have to be really careful about not accidentally scratching a bunch of paint of.
It was a great option for us though in terms of time and painting the cabinets really made the space a lot more enjoyable.
We definitely underestimated how many cabinets and drawers we have. I think it ended up being around 56 so we had a good amount of new hardware to buy. However, that made a HUGE difference in modernizing the kitchen and we ended up just buying some value pack ones at home depot.
We also ended up taking down that set of cabinets above the sink because they really made the room looked boxed in and small. My husband had to repair the ceiling and wall some and I would tell you what he did but I really have no idea. Remember…..he is the handy one ;).
The last thing we did was paint the backdrop. When we bought the house we thought the pink floral paper was just wallpaper we could rip out. Unfortunately, it was not. It is printed wood panels so we would have to do a lot of work to rip those out. We plan to do that in another phase of renovations but not quite yet. So we painted over it and you really can’t even tell there is a wooden floral print underneath.
That is phase one of the kitchen renovation. Phase two is to get the nasty popcorn ceilings out and ceiling fan. Put in the recessed lighting, with a light tongue-and-groove wood ceiling and get me a new stove. The one in here is REALLY old and we want to get a gas line run for the new one. Does anyone have a good gas stove recommendation for me?! I would love some ideas because I don’t even really know where to start.
In summary – this was mostly cosmetic work. We painted, added new hardware, and took down some cabinets, painted some trim and backdrop. I would love to say that it was super easy and you could get it down in a day but that was SO not the case for this size kitchen. It was a lot of work and a lot of Ginger Margaritas later before this was all done. VERY worth it though and has made for a really great work space for me. Honestly it was not that difficult – just time consuming. I can’t wait to show you all phase two (whenever we get to that).


Anne says
Wow! That looks amazing. I love the white cabinets.
Kristin Fish says
It’s always amazing what paint can do. I also find it encouraging that you worked with existing kitchen features (even though I’m sure there are things you ‘d love to replace)….it’s not always possible for u s real people on budgets. Well done! Thanks for sharing!
Jessi's Kitchen says
Right?! It is crazy how much paint can change things and it is definitely an affordable way to spruce things up! So glad you enjoyed the post. 🙂
Jessi's Kitchen says
Thank you!
Denise sutton says
NICE! It really made a great appearance and its roomy. Brighter which it needed. Good job, you two…
Thanks for that paint information called reclaim paint, I never heard of it. Hope to see your Phase 2.
Denise S.
Jessi's Kitchen says
Thanks so much Denise! I hope to share Phase two also! We are in the middle of a bathroom renovation so kitchen got put on hold for a little bit.
Apple Beam says
I noticed that the after photos are so much brighter! Looking more lively.